> For the complete documentation index, see [llms.txt](https://docs.hivel.ai/llms.txt). Markdown versions of documentation pages are available by appending `.md` to page URLs; this page is available as [Markdown](https://docs.hivel.ai/integrations/project-management/clickup.md).
# ClickUp
## Prerequisites
Clickup
1. You must have a ClickUp user account that is part of the Workspace(s) you want Hivel to access.
2. Scope of access: The PAT gives the same access as the ClickUp user who generated it, if that user is in multiple Workspaces, the PAT can access them.\
We recommend you to create a service account with all the permissions required to give hivel and use that account to integrate hivel
3. The account used to create the PAT should be an admin for the Workspace(s) you want to integrate. This prevents permission issues when Hivel tries to access lists, tasks or other workspace resources.
Hivel
1. The user whoever is integrating must have access to Hivel’s Integrations page and the permission to edit integration settings.
***
### Step-by-step: generate a ClickUp Personal Access Token (PAT)
These steps follow the ClickUp UI (versions 2.0 / 3.0 may differ slightly in avatar placement). If your ClickUp layout differs, look for Settings → Apps / ClickUp API.
1. Log in to ClickUp with the account that will own the PAT.
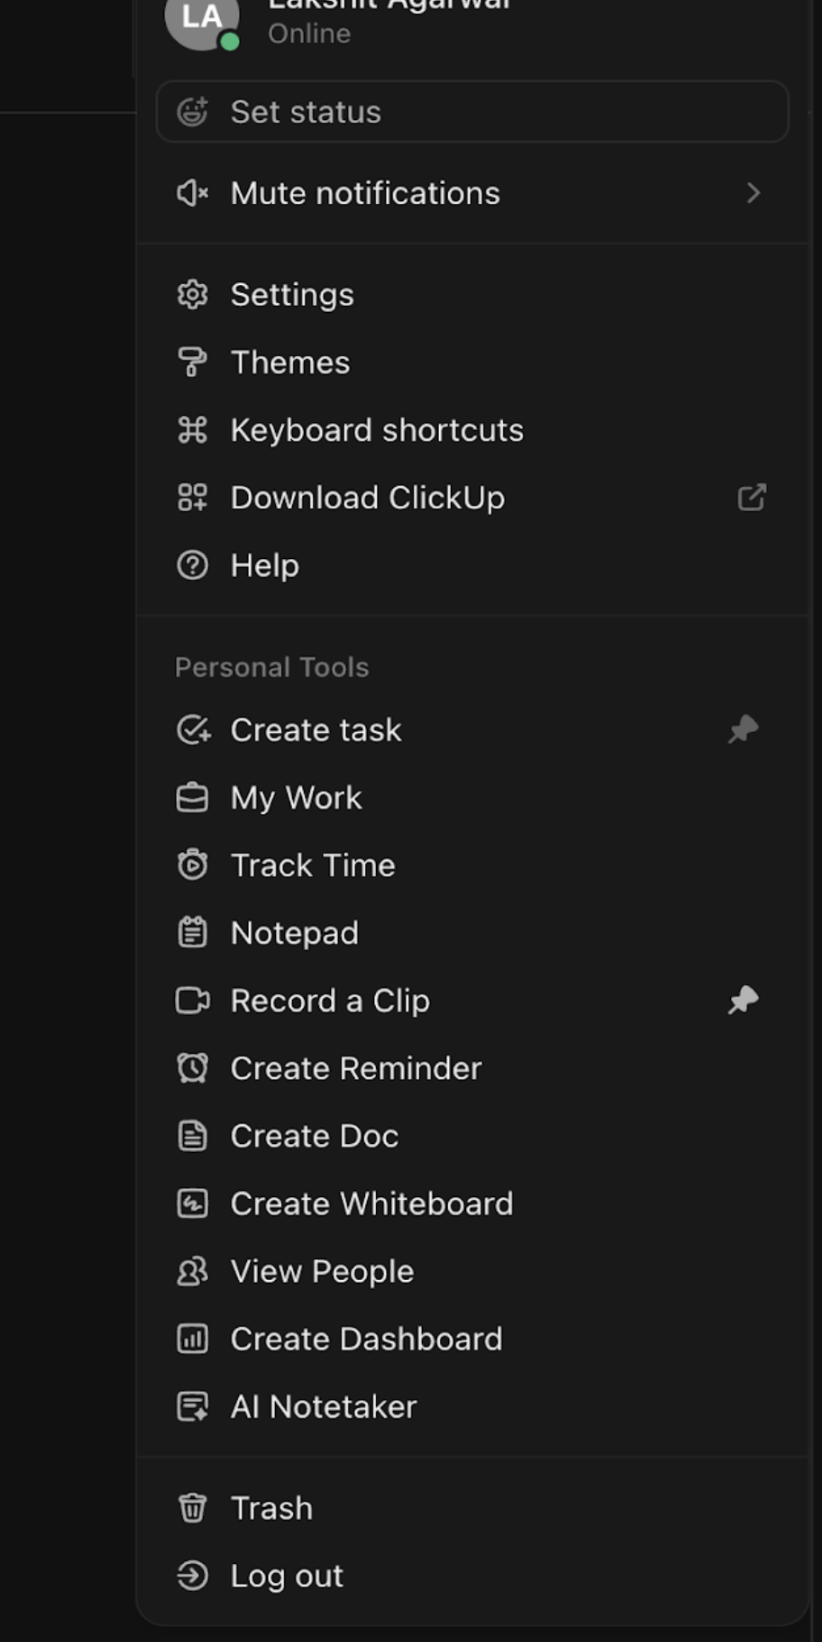
2. Click your avatar (top-right in ClickUp 3.0; lower-left in older versions).
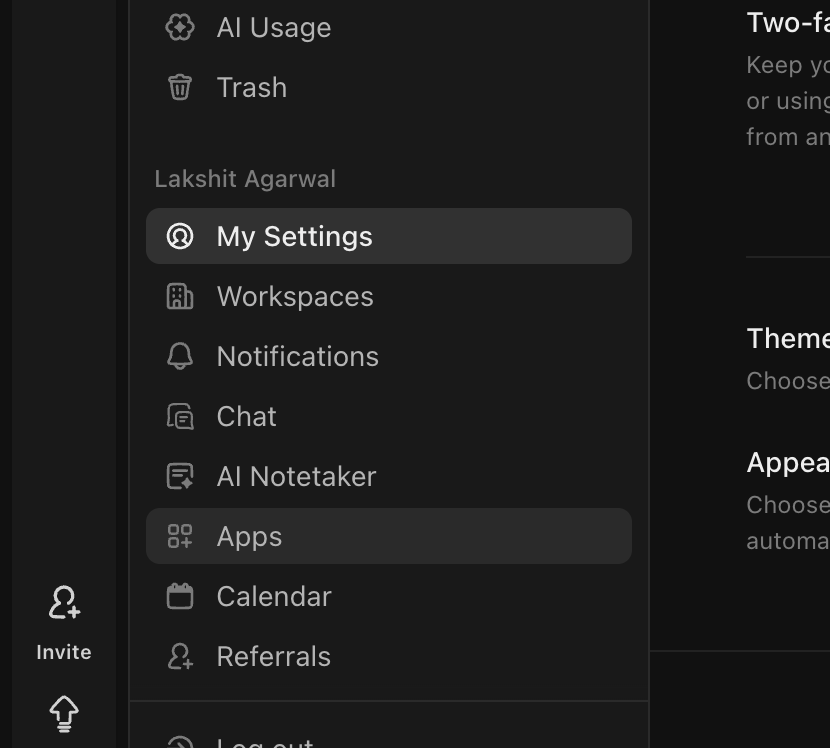
3. Choose Settings from the menu. In the left sidebar, click Apps (or ClickUp API in some UI versions).
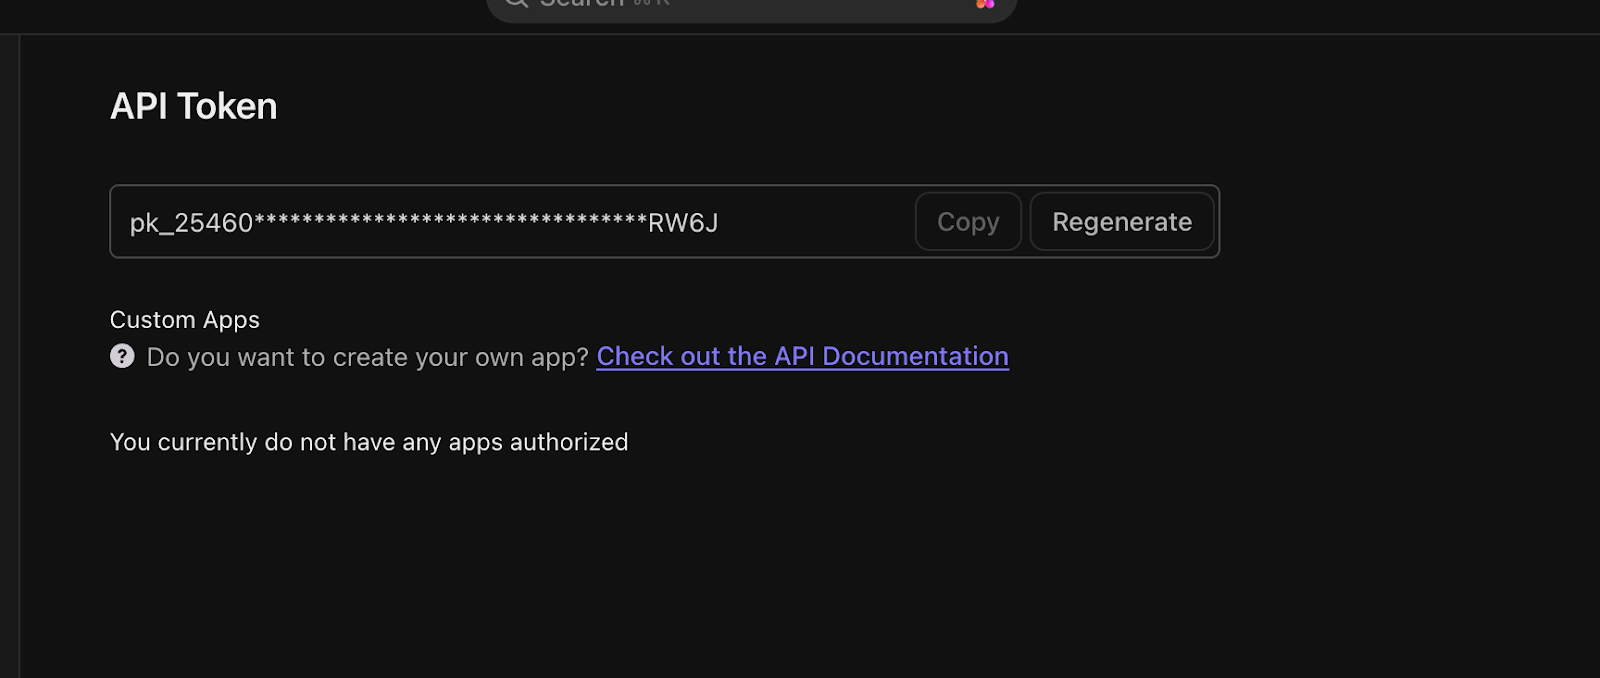
4. Under API Token (or Personal API token), click Generate (or Generate / Create token).
5. When the token appears, click Copy to copy the token to your clipboard. The token string typically starts with pk\_.
6. Store the token securely, paste it into your password manager or Hivel immediately (see next section). ClickUp personal tokens never expire unless you regenerate or revoke them.
Note: If you cannot see the Apps/API Token section, confirm you are signed in with a non-guest account and that your ClickUp user has necessary permissions.
***
### How to insert the PAT into Hivel
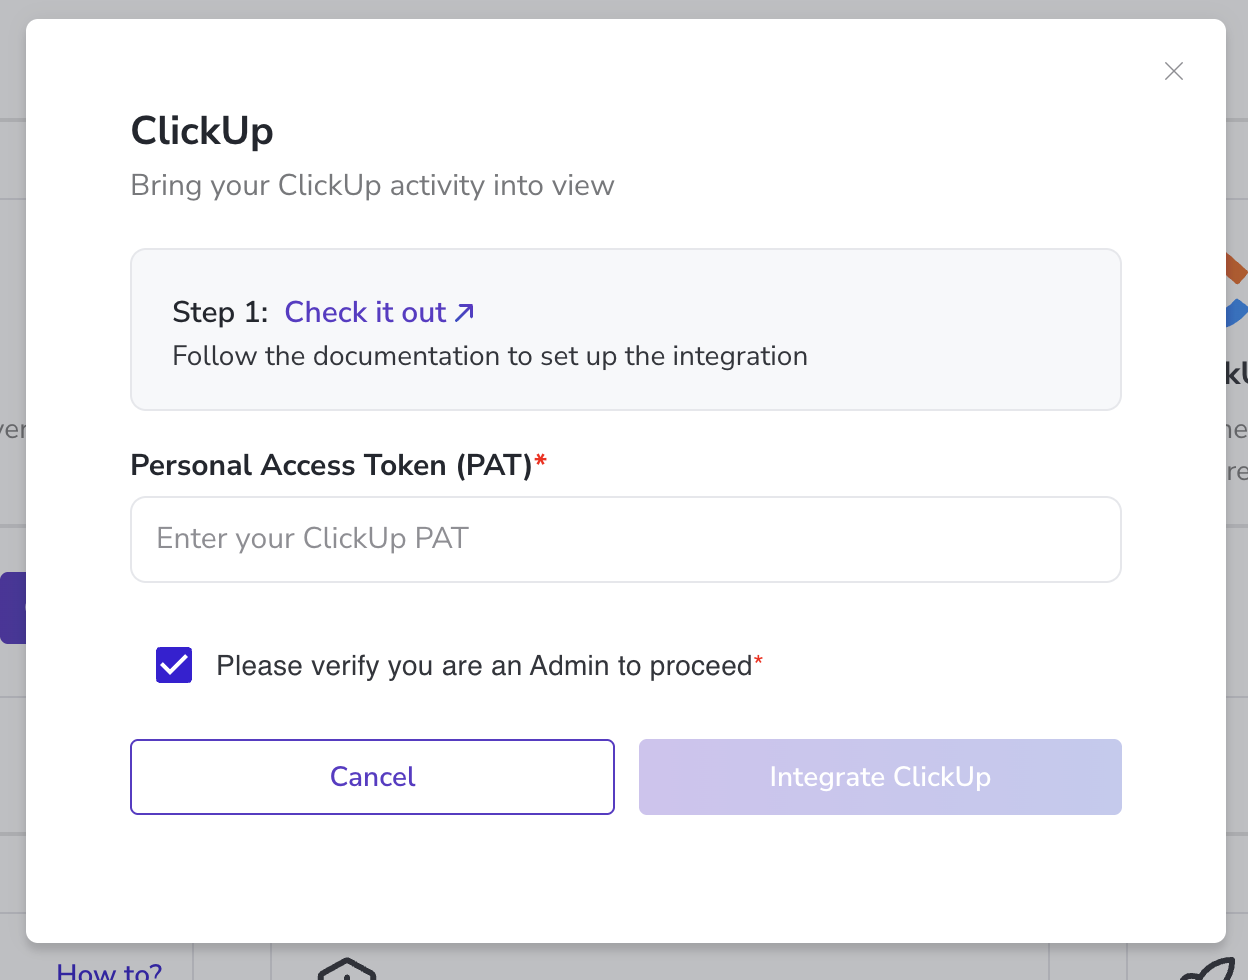
1. Open Hivel and go to Settings → Integrations → ClickUp (or the project management area where ClickUp is listed).
1. Copy paste the PAT into the ClickUp PAT input field.
2. Click Integrate ClickUp. Hivel will validate the token by calling ClickUp APIs.
3. After successful validation, Hivel will be able to authorize API calls on behalf of the ClickUp user who created the PAT (so ensure that user has access to all required Workspaces / Lists / Projects).
***
## How to reauthorize
Regenerate/revoke: If the token is compromised or you want to force re-authentication, regenerate or revoke it from ClickUp Settings → Apps → API Token and update Hivel with the new token.