> For the complete documentation index, see [llms.txt](https://docs.hivel.ai/llms.txt). Markdown versions of documentation pages are available by appending `.md` to page URLs; this page is available as [Markdown](https://docs.hivel.ai/integrations/version-control/github-cloud/github-cloud-using-oauth/how-to-integrate-github-with-account-wide-access.md).
# How to integrate GitHub with account wide access?
#### Data Access by Hivel
* Hivel accesses the past 60-90 days of commits and pull requests from active repositories during the initial sync.
#### Authorization Mechanism
* Hivel employs GitHub's OAuth for authentication.
* Users maintain full control and can withdraw access anytime via GitHub's authorized apps section.
#### Requirements
* Ensure to log in with an account possessing write permissions to relevant GitHub repositories.
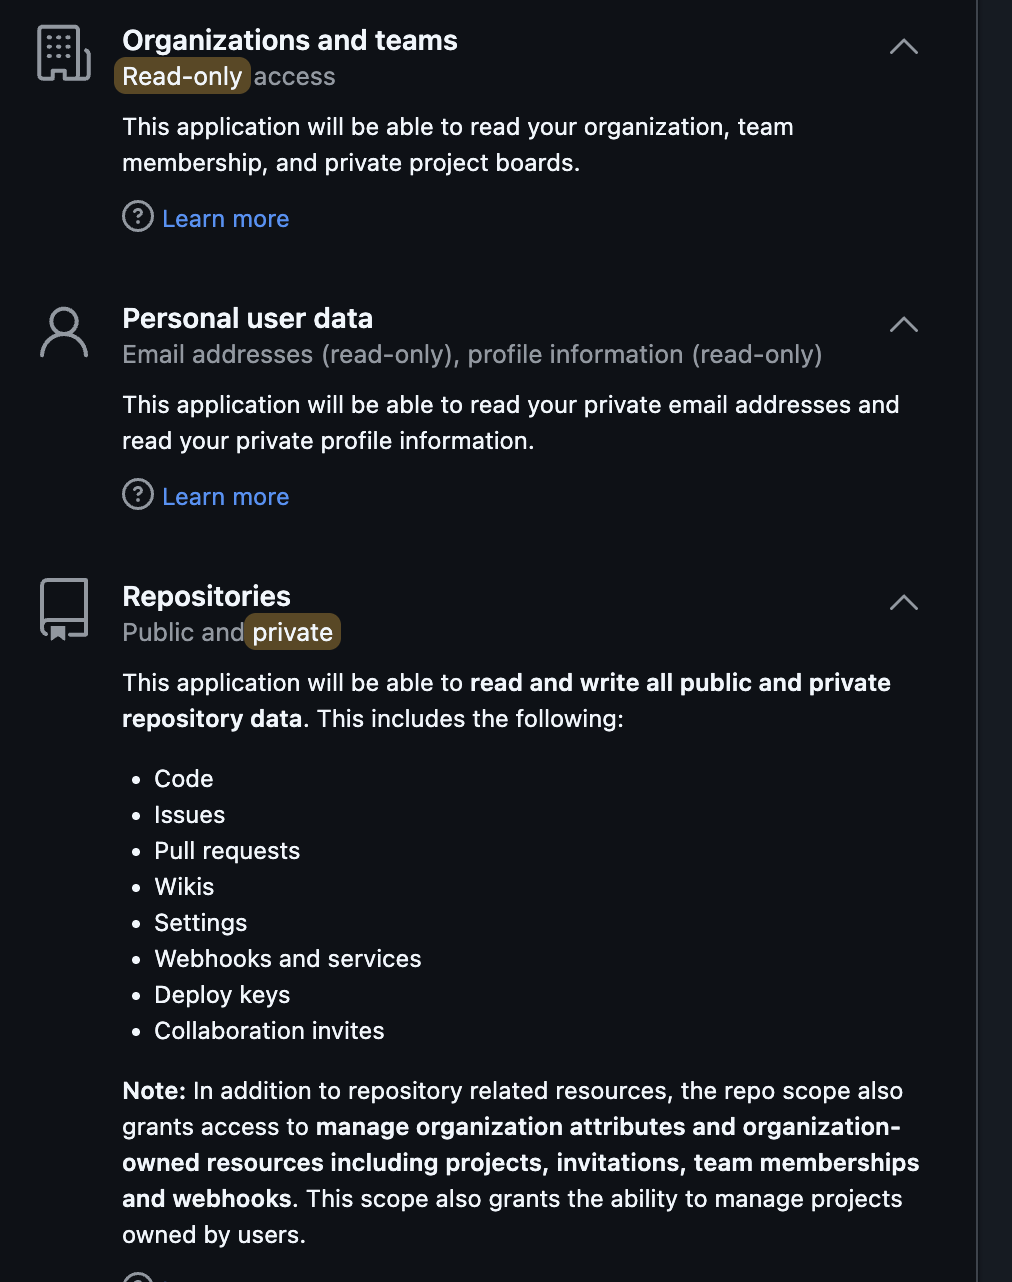
* Write permissions are mandatory for webhook publication, facilitating real-time data sync.
#### Best Practice
* Opt for a service account rather than an individual-linked account.
* Service accounts are typically overseen by the company's admin.\
**Permissions Required**
{% hint style="success" %}
**You can either create a service account or use one with access to only the required workspaces.**
{% endhint %}
### How to create a service account and give access to the required workspaces
{% hint style="info" %}
Skip this section if you are using an existing account with required access.
{% endhint %}
1. Sign up on [github.com](https://github.com/) using a generic email ID which does not belong to any developer and can be accessed by the admin.
2. Once created, open the required workspace using an admin account.
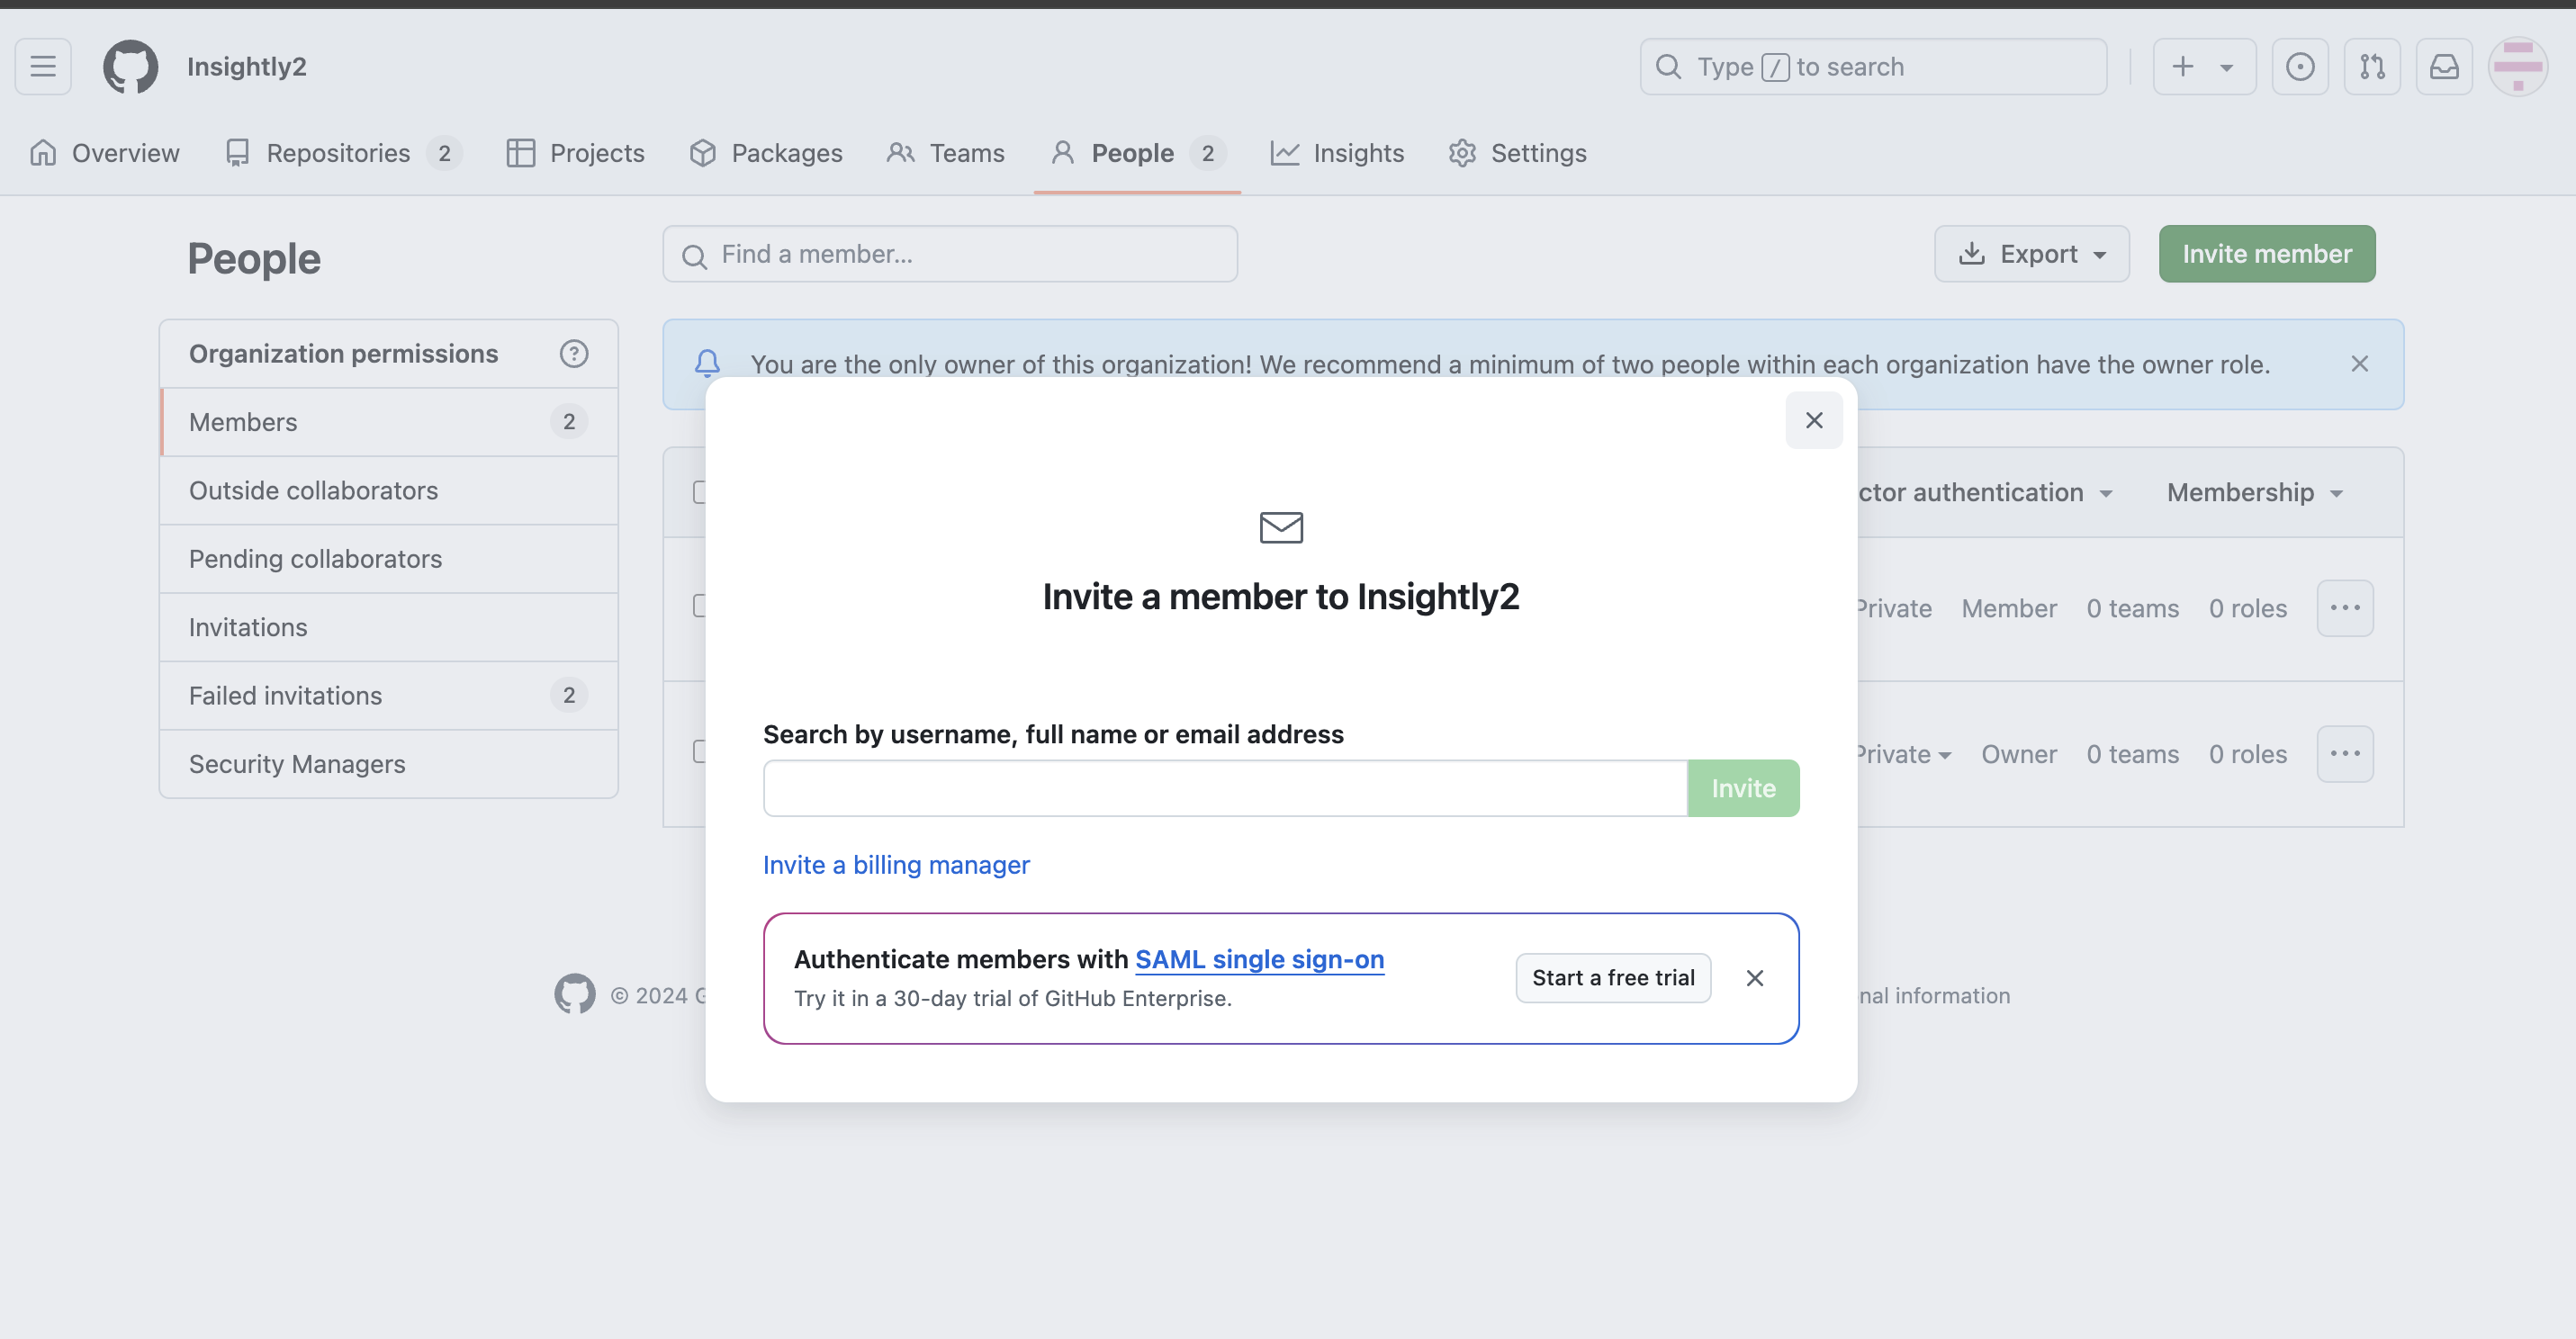
3. Under **People** section, click on **Invite member** to invite the newly created service account.
4. Do the same for **all the required workspaces**.
5. Once invited, log into the account mail and **accept the invite**. This will give the service account permission for only the required workspaces.
### **Sign in to Hivel**
1. Navigate to the Hivel [sign-up page](https://app.hivel.ai/signup)
2. Add your work email id (If you'd like to use your personal email id please contact [support@hivel.ai](mailto:support@hivel.ai)
3. Now, you can use your Google or Microsoft login with your work email id; or create a password.
4. Create your Company Profile, and click '**Get Started**'.
5. Once you've successfully created your Company Profile you will be redirected to the Integrations Page under **Settings.**
6. Select GitHub, and use your company's GitHub account (**either service account or the account which has access to the required workspaces**).
7. Click on **Connect.**
#### Integration Options
There are two integration options to choose from:
* **Account-Wide Access** and
* **Repository-Level Access**.
Account-Wide Access is selected **by default**.
**Account-Wide Access** (default)
* Access for your service account
* Connect all repositories you already have access to.
Check **"Please verify you are an Admin to proceed"** to enable the **Integrate Github** button.
1. Click '**Integrate Github**' .
2. Make sure you click on '**Grant**' all the organization you want to integrate with Hivel.\
3. After authorization, you'll be redirected back to Hivel.
Once your GitHub is successfully integrated, we will start to pull data. It will take between 2 - 48 hours for the complete sync, depending on the volume of the data.